Archives May 2020

Grape Trellis

Trellises Around the Farm

Around One Lane Farm, a lot of plants require trellising. We use trellises for plant support and to increase the health of our plants. Here, we trellis our grapes, blackberries and several of our garden vegetables. By using mostly things on hand, we are able to recycle materials from other projects. And we are always looking for ways to improve our methods.

Blackberries

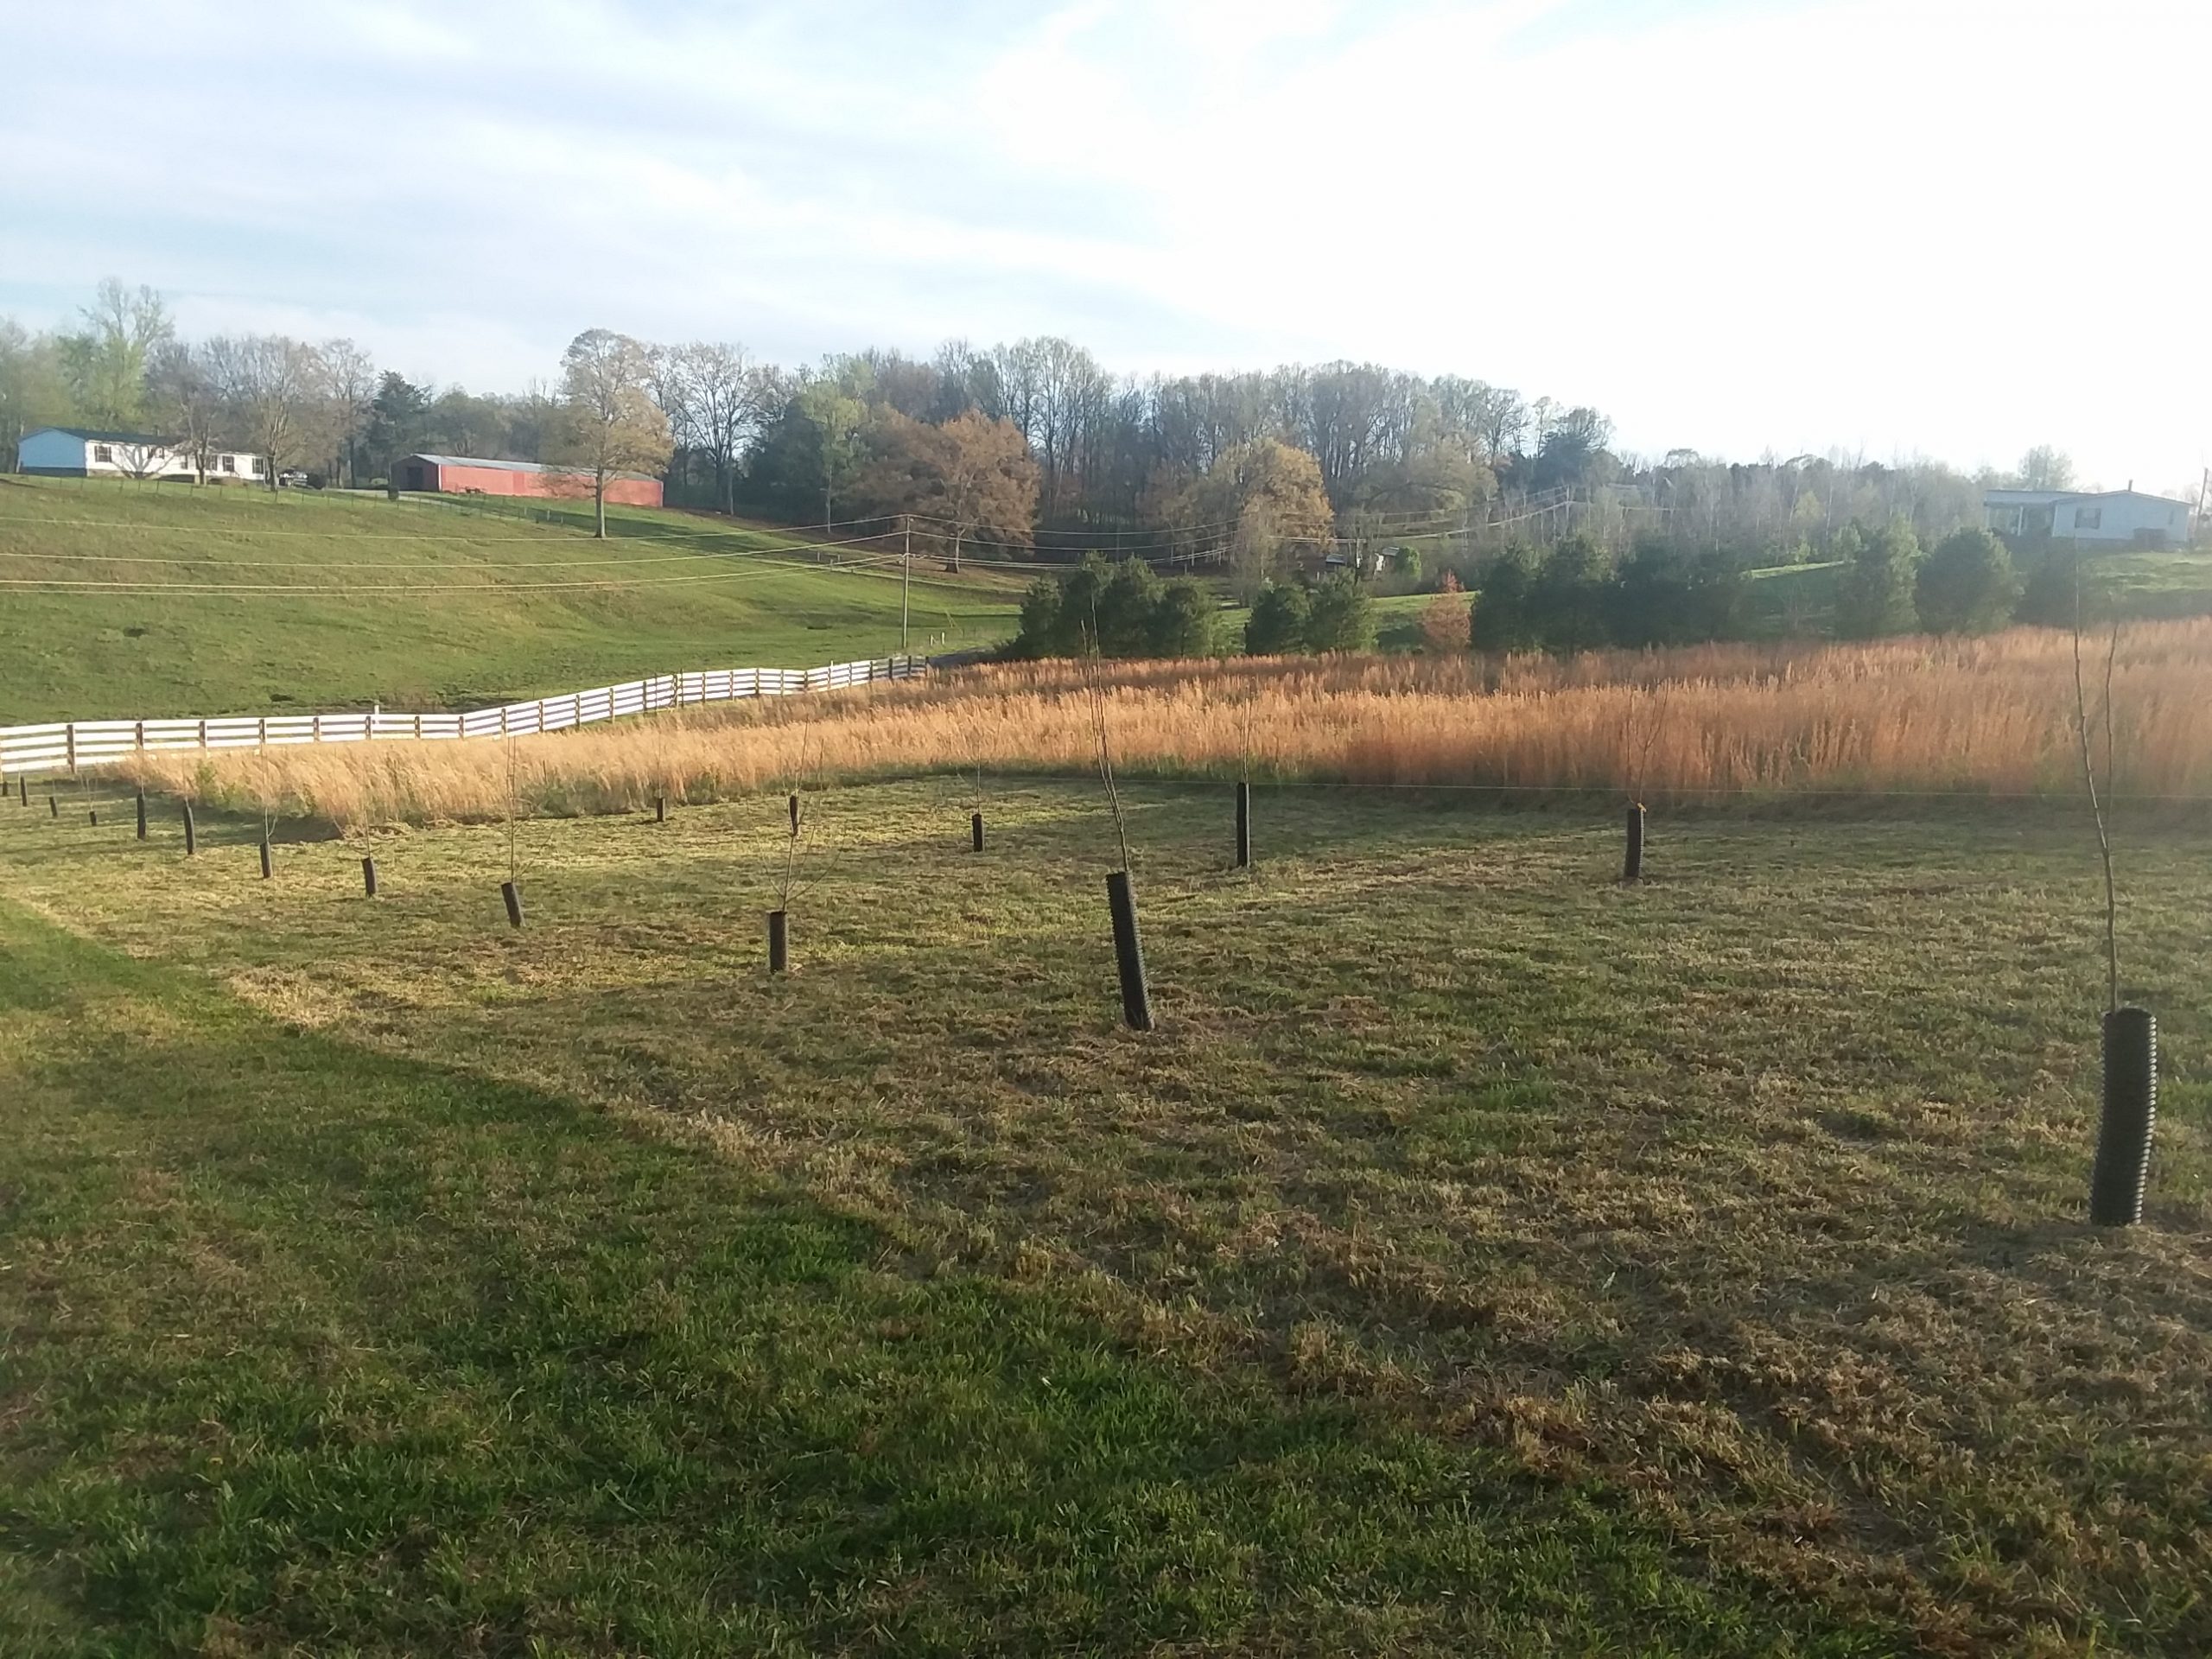
Blackberries don’t vine. But they do grow long branches that need support in order to keep them off the ground. For our berry trellis, we used sturdy wire, metal fence posts, wood fence posts and some eye screws. I ran strands of wire on each side of the berries, post to post, in order to encourage and support the long branches growing upward. This allows more sun exposure on all sides of the berries, makes mowing and trimming easier around the base and limits the hiding places for pests. Taller fence posts would have been ideal, but I’m satisfied with the outcome of using what I had on hand.

Grapes

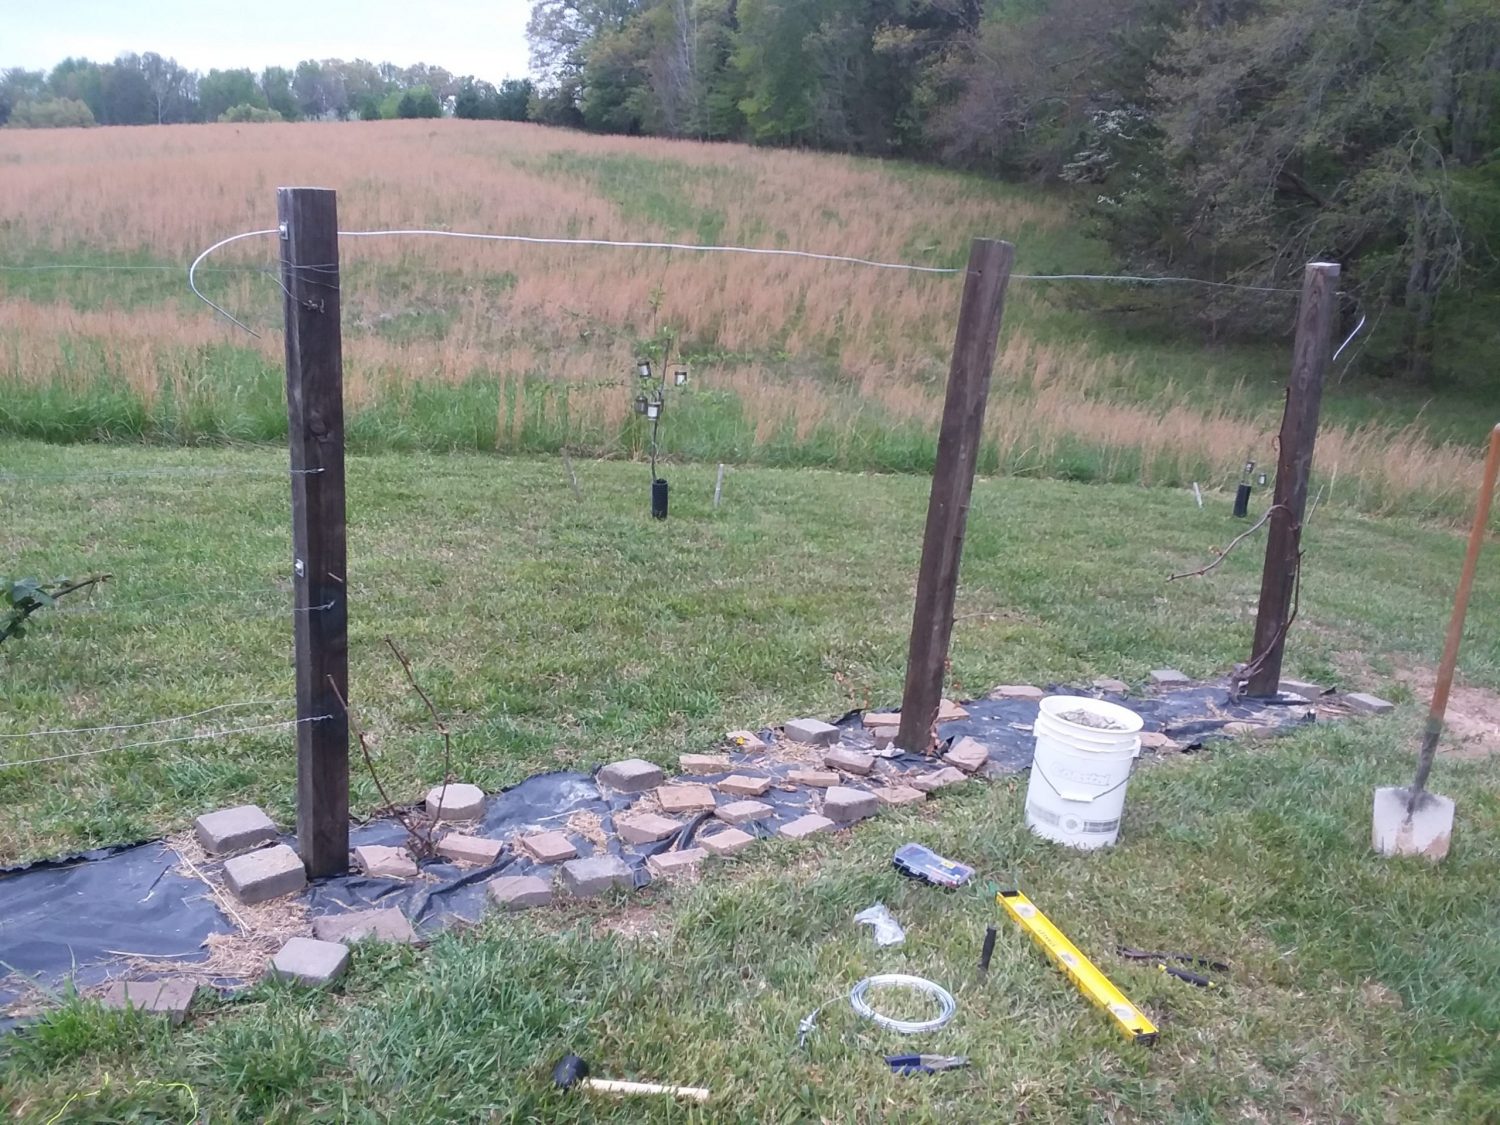
In the beginning, I planted grapes without having any knowledge of what they really needed. I don’t know much more now than I did then but I have tried to improve our trellis system. First, I used some wooden 4 x 4 posts with a wooden type ladder panel on the top. I ran wire vertically down the length of the posts, hoping to inspire the vines to reach the top. This did not work out. The ladder panel rotted as it was not treated wood and the grapes did not reach the top. As I had to replace the trellis this year, I started watching videos and researching different methods. My grapes were planted next to the wooden posts and as the posts would not be moved, I had to adapt the trellis to my setup. I took inspiration from the two tier Cordon training system. We ordered one way wire vices from Amazon to hold the 9 gauge wire. The vice allows for strong tension on the wire to hold the weight of the grapes in full production. The 9 gauge wire we purchased at Lowe’s. Our grapes have suffered a couple of frosts and one hard freeze this year. The grapes have not had much growth and I do not expect fruit. So I cannot say how effective this trellis system will be. Hopefully, next year will allow for a better review.
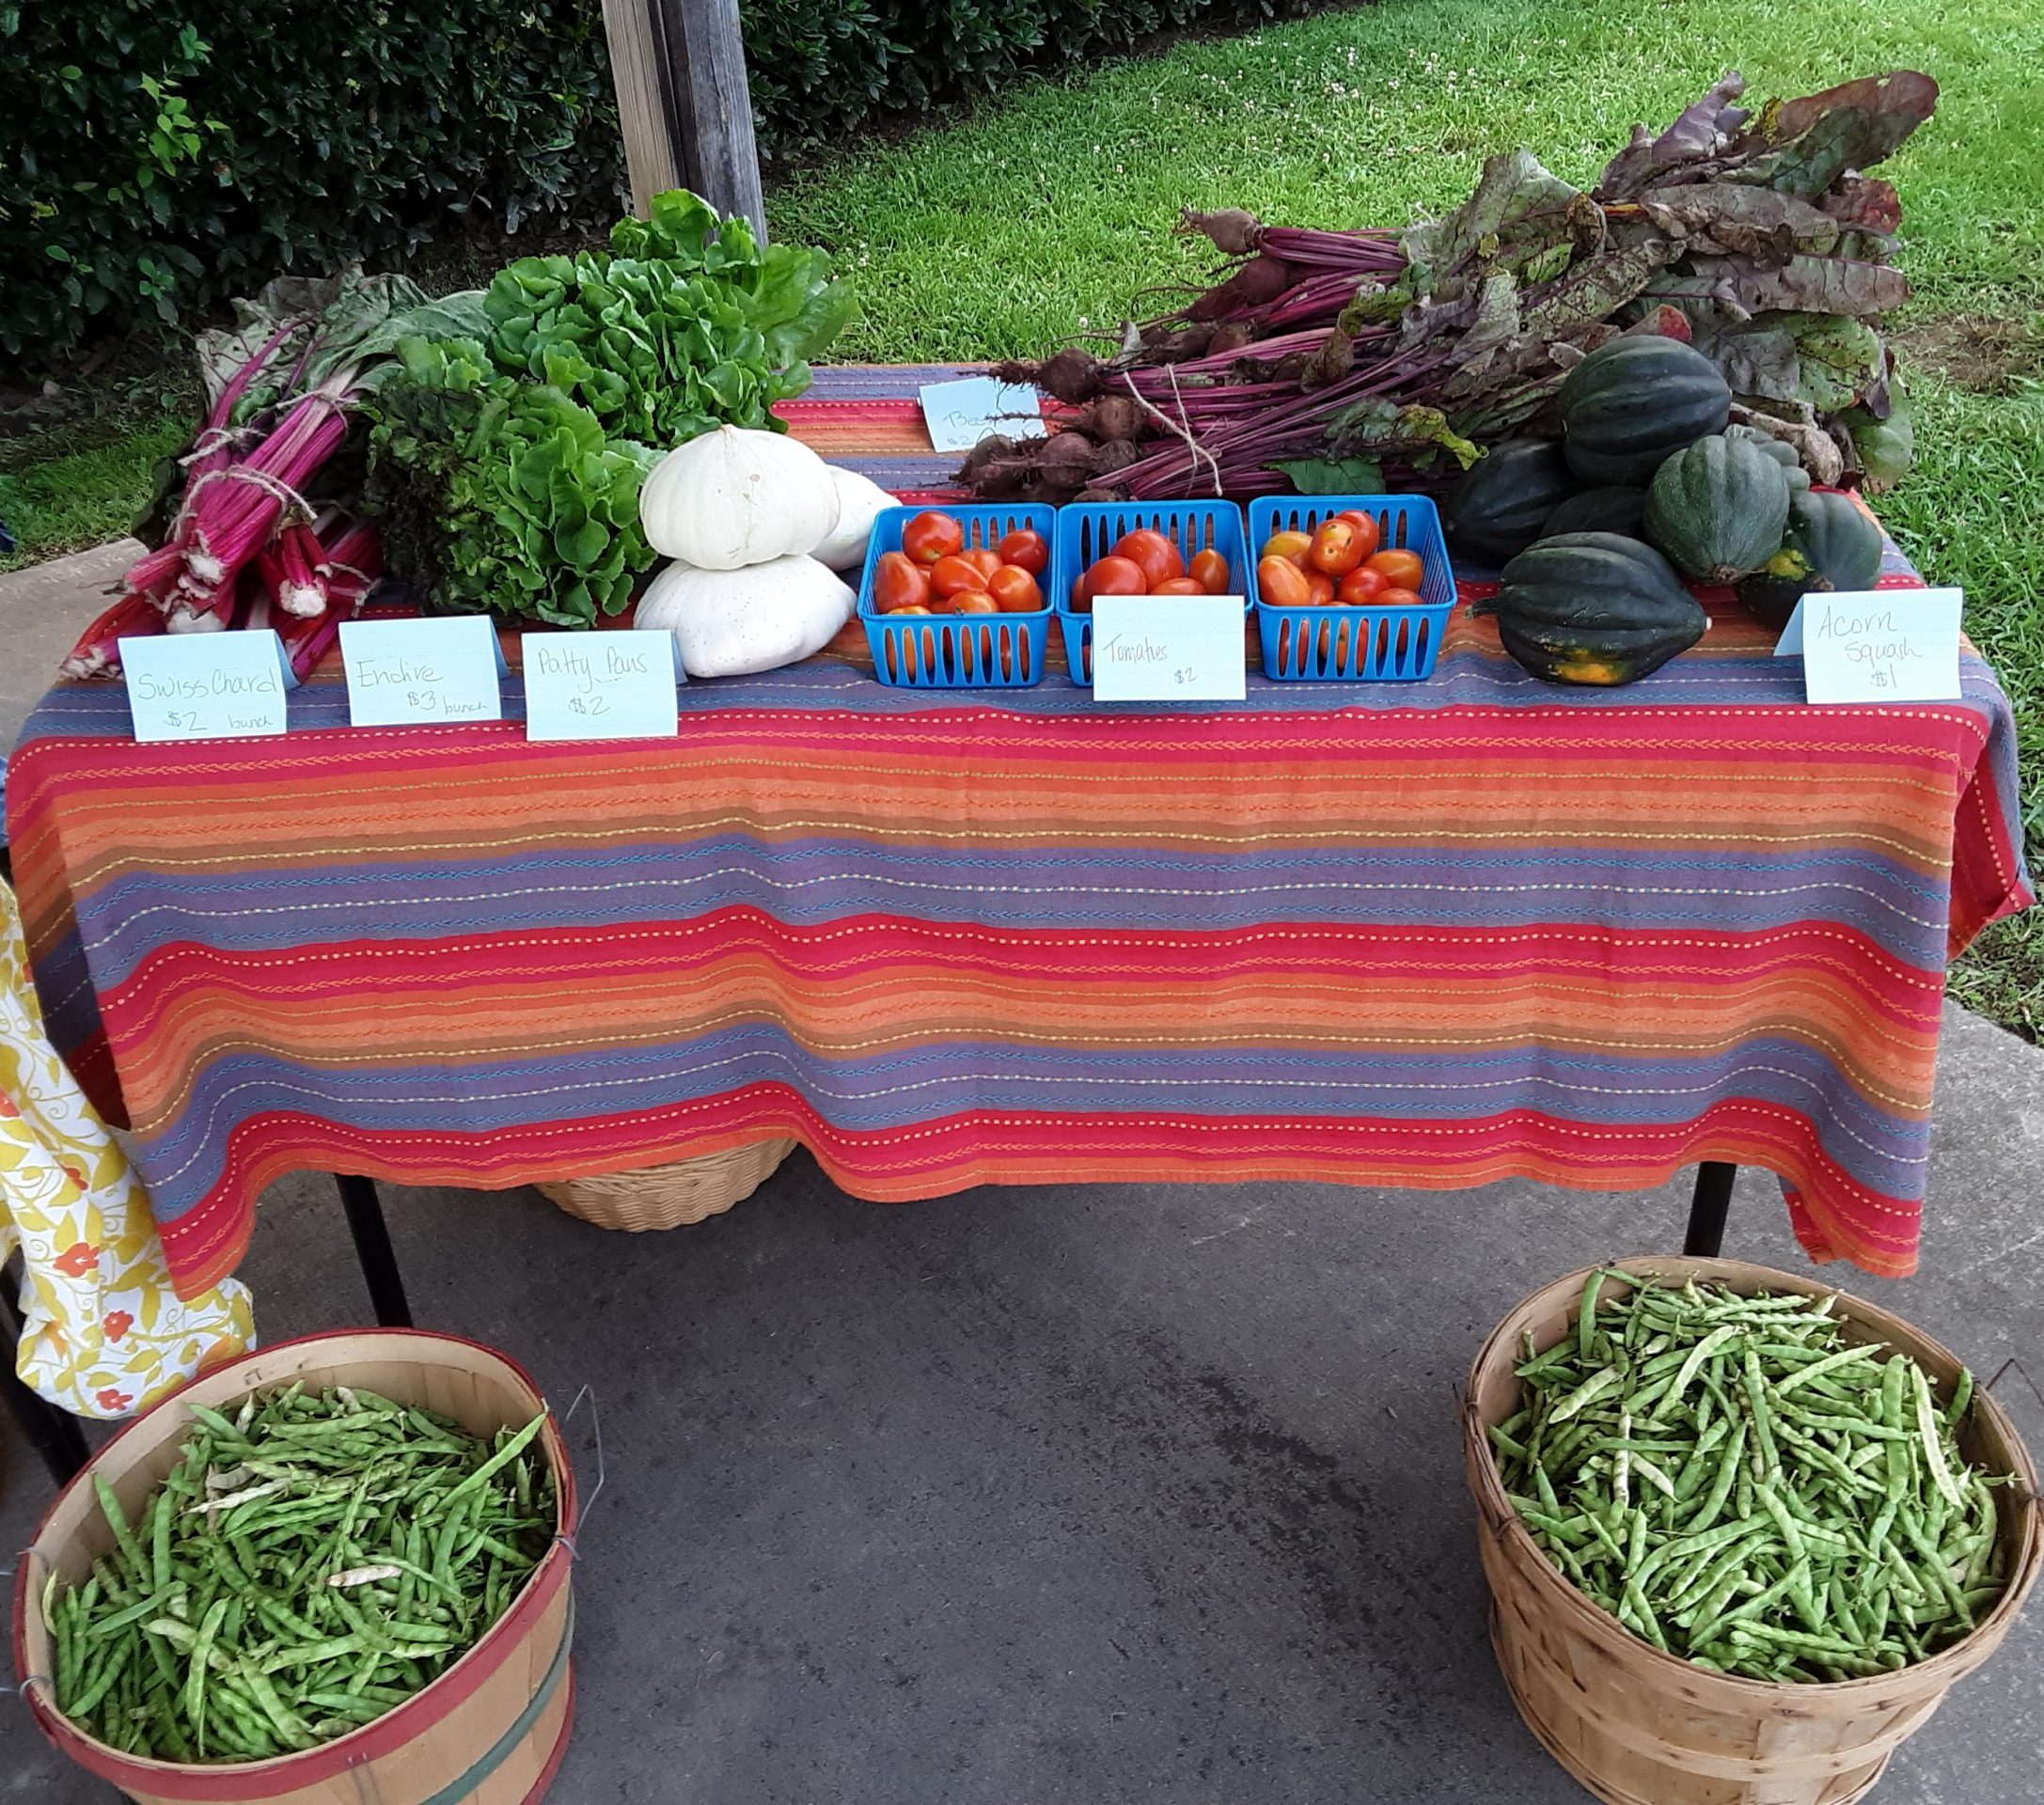
Vegetables

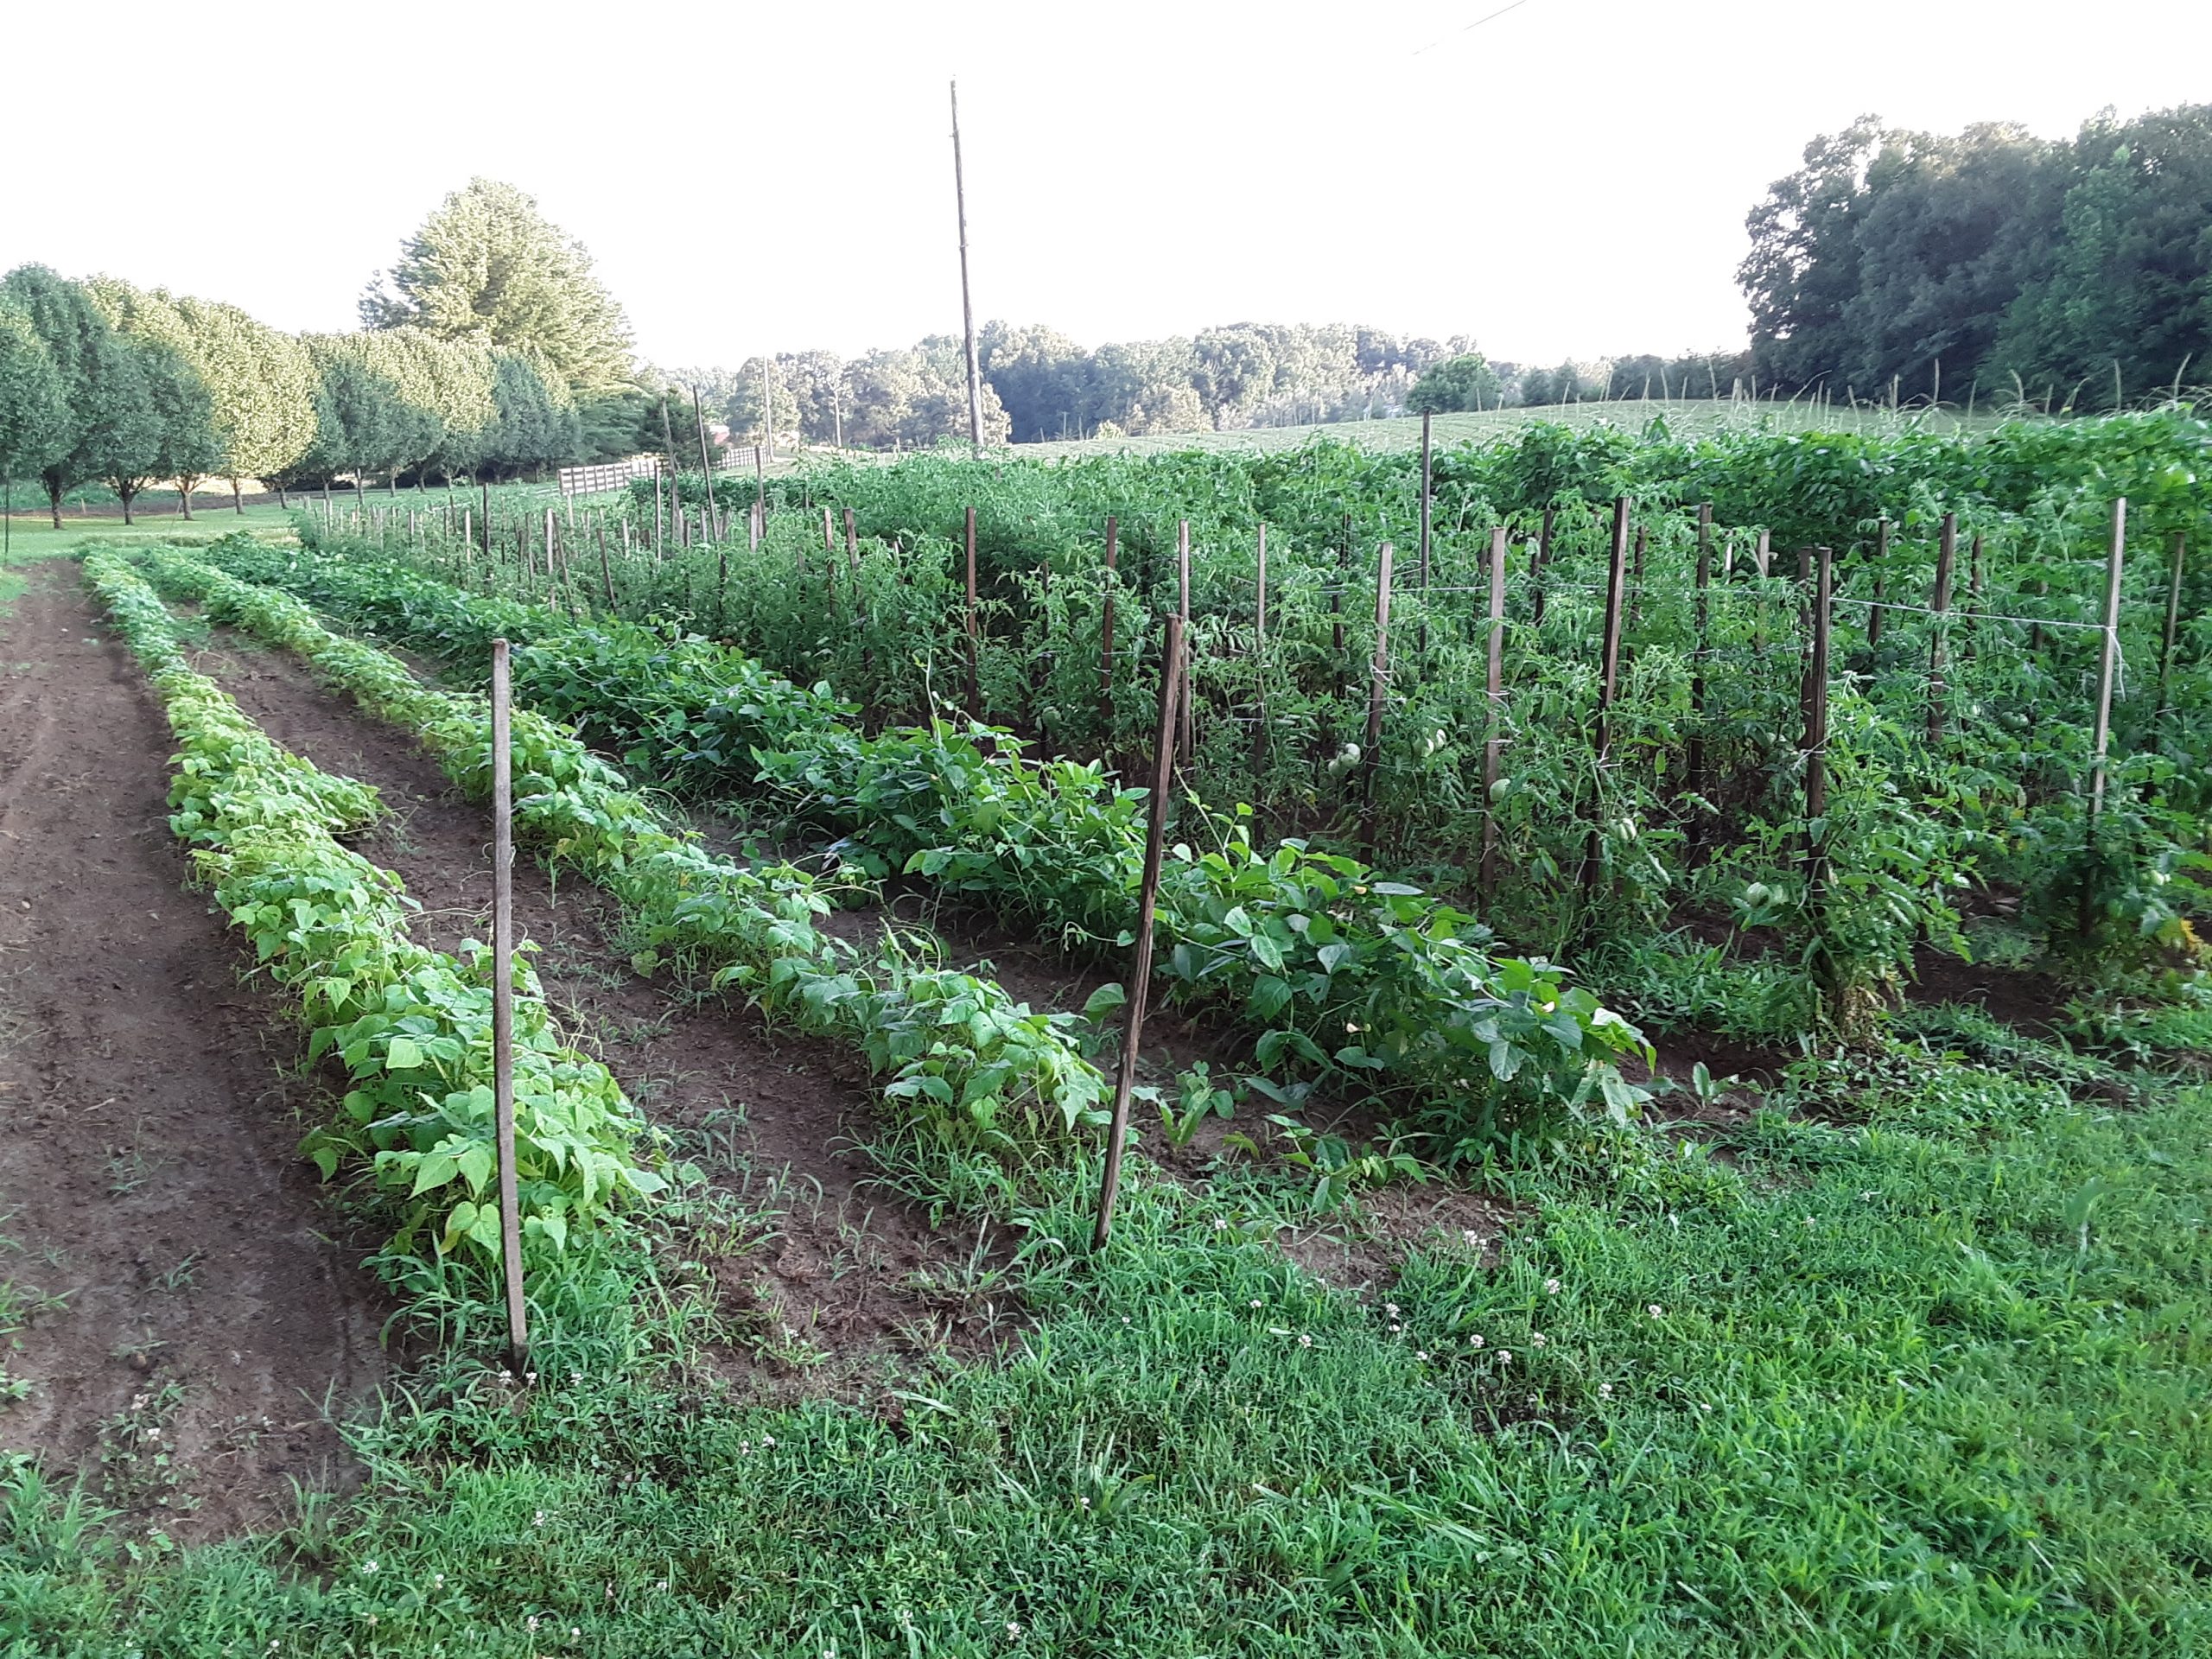
Brent has taken down a few long rows of woven wire fencing around the property since we bought it. Instead of scrapping it, I have started using it as trellises for our garden vegetables. Last year it replaced bean sticks used for greasy greens and butter beans. It changed my life. The fencing provided so much stability for the beans. We didn’t have to worry about the wind or storms. The fencing improved air flow and sun exposure. And picking was a dream. This year Brent had taken down even more fencing and so we expanded to using it on our beans, tomatoes, cucumbers, squash and zucchini. The fencing replaced almost 400 tobacco sticks that we used last year on the tomatoes. Yes, they were a nightmare especially the cleanup. Although, I am thankful to have had them at the time and glad to use something different now. It took four of us and two hours to put up the six rows of fencing for the vegetables but I am confident it will be worth the effort. My hope is that it will extend the life of the tomatoes and decrease the blight and disease on the vine vegetables. I’ll keep you posted on how everything holds up, literally.

Also, some very exciting news! Brent surprised me on Friday afternoon with the beautiful farm sign you see below. It’s at the entrance of our property. I absolutely love it!

Growing Fresh Produce

Growing produce, for us, is a year around process. We aren’t planting or growing for twelve months but we are continously brainstorming, planning, and organizing. Plants are started in February and March. Planting is in May. The Market, hopefully will be extended to June throughout September. And then October until the next February will be spent reviewing the year and making decisions about the upcoming year. That’s also the rest period, which we need by then. It sounds like a lot but when you love something, it takes most of the labor out of it.

Review, Revise and Plan Ahead

All during the year, we collect information about our crops. The information includes the crop quality and yield. Enemy and pests that we faced throughout the growing season is documented. We evaluate the marketability and demand of different types of produce at the market. And I also like to take note if I set aside enough produce for our own use. Last year, I didn’t preserve enough for our household for a year. So a goal this year will be to make sure I lay aside enough for us. This information helps us to plan for the upcoming year. We use it to decide what we will plant more of, purple hull peas please and less of, tomatoes. It influences our garden design and overall schedule, as far as, purchasing, starting seeds, and then planting. The most fun part is deciding what new varieties we will plant. We have friends that grow something new each garden year. I took that to heart and try to do the same. It has paid off well! Purple hull peas grow well in our soil and I love them! I am so glad we tried them last year!

Buying

We try to keep some of our seeds from the previous years such as beans and peas. You can keep any seeds you want. Be mindful that some vegetables cross pollinate and the cross will show up in the following year’s plants. Even that, can be a fun experiment. The majority of our seeds we buy from a small place in Liberty, Kentucky called Martin’s. We have bought our seeds there for several years and have been happy with the product. Martin’s doesn’t have a website but they do have a Facebook. I usually call in February to have a catalog mailed. You can order over the phone and have your seeds mailed or pick the seeds up in person. We make our annual trek to Liberty usually in February or March depending on the weather and schedules.

Starting Seeds

After the seeds are all gathered, my sister, Lisa begins all our plants in her greenhouse. It really is amazing! She has raised thousands of plants in her small but highly capable greenhouse. I think it’s like a science lab trying to keep everything the right temperature and moistened. Lisa is the scientist constantly checking all these factors multiple times a day. She is always looking to improve her process. Lisa usually starts the majority of the seeds in March but after the great freeze this year, we are thinking that maybe next year, we might push that back a little.

Planting and Growing

My faithful plant by date has always been May 1. I love to hear people talk about their plant by dates. You think expiration dates are serious. Those dates don’t hold a candle to farmers’ plant dates. In 2019, I did plant the last day of April due to the weather and things turned out okay. This year, I planted on May 2 and as unexpectedly as possible, Middle Tennessee experienced a great freeze, not a frost but a freeze. Thus, influencing my position to maybe push my plant date even later to May 15 next year. We plant everything at the same time, some seeds, some plants. This is the easiest way for us. Once planting is over, the real work begins. Tilling, fertilizing, hoeing, thinning, trimming, and of course, putting up defenses all consume the weeks ahead. You rest when it rains. It’s amazing how fast time goes by when you work in the garden everyday. Next thing you know, harvest is here.

Harvest and Preservation

My first vegetable of the season is typically a yellow squash. It’s almost commemorative, signaling the beginning of summer harvest. After the start, in roll the zucchini, cucumbers, tomatoes, corn, beans and other delicious rewards. I love coming home, grabbing a woven bushel basket and heading out to fill it up with the day’s bounty. I say day’s because cucumbers, zucchini and squash, have to be picked daily or they get too big too fast. Then we spend any spare minutes we have canning and freezing our stock for the upcoming year. I love to can! And I have said a few times that I would can almost anything once. It’s a good preservation method and doesn’t take up freezer space. It’s also simple to get started and easy to do. The National Center for Home Food Preservation makes processing food safe and simple. Also, check our your local extension office as classes are available in some areas.

The year is busy for us, it’s a process for sure. But one that we thoroughly enjoy and it’s rewarding beyond measure. We encourage others to try your hand at growing produce regardless of how much or how little. If you can’t or don’t want to grow your own produce, please support your local farmers. We greatly appreciate your business!

To the Market We Go

The Beginning

Brent and I bought our farm in Rickman four years ago. The first summer, 2016, we were still living in Algood and so we didn’t have a garden that year as the summer was packed with construction, packing, selling, relocating and all the processes of moving. The second year, I put out a pretty good sized garden just for our consumption. We paid a friend to plow and till it for us and I’ll never forget seeing and smelling that freshly broken ground for the first time. There is something about the smell of dirt at planting time. It’s the smell of opportunity and hope. It will always be one of my favorite scents. That year, I enjoyed planting the usual things tomatoes, squash, zucchini, cucumbers. It was a success with plenty of produce for ourselves and extra for gifts to friends.

Our first Market Sales

It wasn’t until our third year that I expanded the original garden in size and decided to start selling at the local Farmer’s Market. I love being able to share our abundance of produce with customers. It’s so nice to talk to folks each week, some new, some regulars. It’s like having a front porch visit with friends. We talk about the farm, the weather, their gardens and even share recipes. It’s an enjoyable time and a great way to provide people with alternatives to commercial produce. That year, 2018, I only sold butternut squash and spaghetti squash. I didn’t even set up a table. I just sold out of the back of the pickup truck. It was a good way to introduce myself to the market and get familiar with the process. After all, you can’t just set up your wares one day, on a whim.

Market Requirements

The Farmer’s Market requires each vendor obtain a permit. I contacted City Hall of Cookeville and was advised that because I am a non resident of Putnam County, I had to get a letter from my local Overton County extension agent verifying he/she  had observed my grow space, in order to apply for a permit. This is to ensure vendors are truly growing their food locally. I was able to contact my local agent, he came out, observed my garden and I secured my permit. A permit is required for each selling year. A list of regulations are also provided that include items such as a list of items that can and cannot be sold.

Last year, 2019, I made plans to return to the Farmer’s Market and with more than just squash. We added an additional garden to our farm to increase both variety and yield. We planted several first time items and also new varieties of beans, cantaloupe, tomatoes, peas, peppers, squash and more. I obtained my  permit again and in addition, our niece, Mattie, also obtained her permit and decided to set up as well. Mattie is 15 and enjoys gardening produce, but more so growing flowers.  Her and I had a great year of selling most weekends throughout July and August. We had help from Brent and Mattie’s Mom, Lisa.  We sold a variety of fruits, vegetables and flowers. It was fun to try the new varieties ourselves and to introduce them to our customers. Our customers were happy with our products and that made us happy!

We look forward to trying our hands at new vegetables and varieties again this year. And we are counting down the weekends until we can get back to the Market for the 2020 season.

Apple Orchard Started

Here on the farm, me and Brent collaborate each year on ways to grow and expand our produce production. Over the past couple years, we planted two apple trees closer to our house that were an old-fashioned type, which were given to me from my sister. Those two trees triggered our new adventure idea for this year, which would be to start an apple orchard. My Dad had apple trees for a few years that my sister and I loved helping with. He learned how to grow them from talking to different people who had trees. The knowledge I gained through Dad has been unbelievably valuable. With that and our own research, we started our orchard.

Plans for Our Apples

In any new project, it is important to have a vision. Use that vision to establish and obtain your goals. Our goals for the orchard include the following:

  • Fresh consumption
  • Canning
  • Dehydrating
  • Making fresh cider from the variety of apples (personal favorite!)
  • Selling to customers

Apple Tree Supplier

In the beginning of the process, it is a good idea to establish a relationship with suppliers. Our supplier, Rusty Mangrum Nursery in McMinnville, TN, grows a large variety of apple trees. We previously purchased blueberries from Rusty and decided to also buy our trees from him for our orchard. This year, we decided 18 would be a good number to start with. The trees were purchased in mid-March and planted a couple weeks later. Additionally, in December, we plan to plant more trees. This advice, to plant in the winter, was given to us by our supplier. Planting in winter allows the trees time to absorb all of the winter moisture, increasing their growth in the the spring.

Orchard Locations and Lot Dimensions

The area we cleared for the apple orchard is located on the southeast side of the farm. After that, a designated part of our field was cleared and mowed that would allow for 18 apple trees. We started with two rows, the first has twelve trees and the other has six. The space between the rows is approximately 23 feet while the space between the trees is 15 feet and 7 inches. Since we planted in a slight diagonal path, the row distance varied between 21-23 feet. However, this leaves plenty of room to drive a vehicle between or any kind of ATV.

Types of Apple Trees We Planted

We planted three trees of each of the following types: Arkansas Black, Fuji, Gala, Golden Delicious, Red Delicious, and Winesap. Later this year, we plan to add Granny Smith to the orchard. Pictured below, you can see the trees growing, flowering, and budding.

Follow along each week with updates from around the farm as our journey continues.

I cannot wait!

RSS
Follow by Email
Instagram